Home Brewing Supply: Everything You Need to Start Brewing
We may earn a commission for purchases made using our links. Please see our disclosure to learn more.
Brewing beer at home is a fun and rewarding hobby. Yes, it might seem a little intimidating at first, but you’ll get the hang of it. With the right home brewing supply, you’ll craft a delicious beer easily. The key here is to have patience and a willingness to experiment. Ready to get started? Let’s break down everything you need to start brewing at home.
Why Home Brewing?
You can buy beer instead of making it yourself. To begin with, it’s a fun and fulfilling hobby. You have complete control over everything, including the alcohol content and flavor, and there’s a certain satisfaction in sipping a beer that you brewed yourself. It’s also a fantastic method to wow your loved ones. It would be awesome to give them a cold one and say, “Yeah, I made this.”
The Basic Home Brewing Supply List
Before you start, you’ll need some essential gear. Think of it like cooking—you wouldn’t bake a cake without a mixing bowl and an oven, right? Here’s the home brewing supply you’ll need:
- Fermenter – a glass carboy or a plastic bucket works great
- Airlock and stopper – this keeps unwanted bacteria out while letting gas escape
- Brew kettle – bigger is better to prevent spills
- Siphon and tubing – to transfer your brew without stirring up the sediment
- Bottles and caps – you’ll need something to store your masterpiece in
- Bottle capper – trust me, you don’t want to skip this
- Sanitizer – this is your best friend—clean gear means better beer
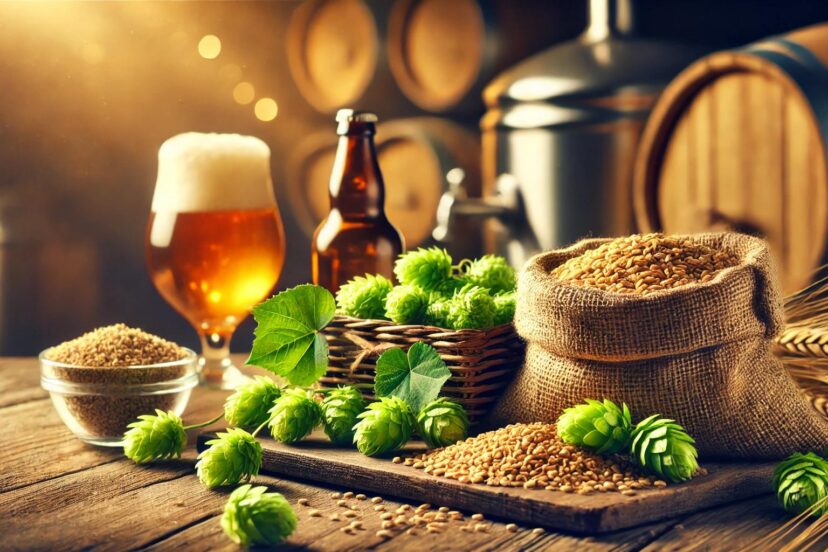
- Ingredients: malt, yeast, hops, and water (the building blocks of any great brew)
Choosing the Right Fermenter
You do all the magic in your fermenter. Glass carboys and plastic buckets are your two primary possibilities. Although glass is fantastic since it is easy to clean and doesn’t retain odors, it is also heavy and brittle. Although plastic is less brittle and lighter, it can eventually scrape and harbor bacteria. In any case, make sure it has enough space to accommodate your batch and yet have some extra.

The Role of an Airlock and Stopper
An airlock is like your brew’s little one-way door. It releases carbon dioxide while preventing the entry of harmful bacteria and wild yeasts. If you don’t have one, you can get sour, unpleasant flavors that you didn’t request. Do yourself a favor and always use a stopper and airlock.
Brew Kettles: Size Matters
If there’s one thing you don’t want, it’s a messy boil-over. Your brew kettle should be at least 1.5 times the size of your batch to give you plenty of space. Stainless steel kettles are a solid choice since they’re durable and easy to clean. If you’re just starting out, a large stockpot from your kitchen might work fine, but once you get serious, you’ll want to upgrade.
The Importance of Siphoning Equipment
Once your brew is ready to move from the fermenter to the bottles, you’ll need a siphon and tubing. The goal is to leave the sediment behind and transfer only the good stuff. Trying to pour it manually? Big mistake—you’ll end up with a cloudy mess. A siphon makes the process smooth and clean, so don’t skip it.
Sanitization: The Golden Rule
If there’s one rule in brewing, it’s this: clean everything. Any leftover bacteria can ruin your beer before you even get to taste it. Use a no-rinse sanitizer to clean your equipment before each use. It may sound tedious, but believe me, it’s worth the effort. Think of it like washing your hands before cooking—you wouldn’t skip that, would you?
Ingredients 101: The Backbone of Your Brew
Every great beer starts with four key ingredients:
- Malt – This gives your beer its sweetness and body.
- Hops – These add bitterness and aroma to balance the sweetness.
- Yeast – The real MVP, yeast eats the sugars and turns them into alcohol.
- Water – Since beer is mostly water, using good-quality water makes a difference.
Understanding Different Yeasts
Not all yeasts are the same. If you want a fruity, complex beer, go with an ale yeast—it ferments at warmer temperatures. If you like your beer crisp and clean, lager yeast is the way to go, but it needs cooler temps. Choosing the right yeast can make or break your brew, so pick wisely!
How to Bottle Your Brew
Bottling day is exciting, but don’t rush it. Make sure your bottles are clean and sanitized before filling them up. Use a bottling wand to keep things neat and prevent spills. Once they’re capped, store them somewhere cool and dark to let the magic happen.
Carbonation: The Waiting Game
After bottling, your beer needs time to carbonate. This usually takes about two to three weeks. It’s tempting to crack one open early, but trust me—waiting makes all the difference. Patience, my friend!
Common Home Brewing Mistakes to Avoid
Every brewer makes mistakes, but here are some common ones to steer clear of:
- Not sanitizing properly (seriously, this is huge)
- Using low-quality ingredients (fresh is best!)
- Rushing fermentation (good things take time)
- Storing bottles in the wrong conditions (keep them cool and dark)
Experimenting with Flavors
Once you get the basics down, it’s time to have fun! Try adding fruits, spices, or even coffee to create unique flavors. Just make sure to research how each ingredient affects fermentation. The sky’s the limit!
Troubleshooting Off-Flavors
Not happy with how your beer tastes? Here’s what might have happened:
- Sour flavors? Likely a contamination issue.
- Too sweet? Your fermentation might not have finished completely.
- Flat beer? You might not have added enough priming sugar before bottling.
Scaling Up: When to Upgrade Equipment
If you catch the brewing bug, you might want to upgrade your setup. A larger fermenter, a kegging system, or an automated brewing rig can take your beer to the next level. But start small—learn the ropes before going all-in. Want homesteading tips too? Check out this article on solar-powered tools.
Is Home Brewing More Science or Art?
Home brewing blends both science and creativity, making it an exciting and rewarding hobby. According to Outside Online, brewing your own beer at home can be a cost-effective and fulfilling experience, but it requires patience and attention to detail. Meanwhile, Brülosophy explores whether home brewing is more of a science or an art, discussing how brewing techniques, ingredients, and even personal experimentation play a role in crafting the perfect brew. Whether you enjoy the structured, scientific side or prefer to experiment freely, home brewing offers the best of both worlds.
Final Thoughts
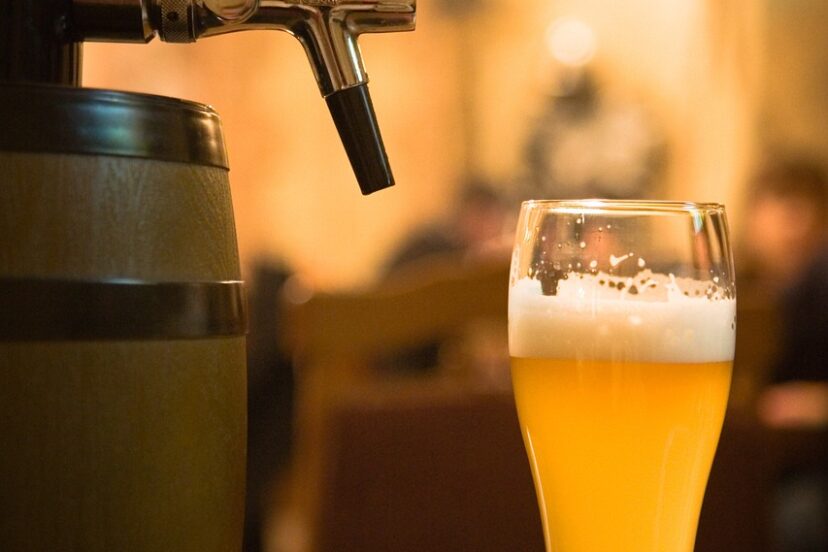
Home brewing is more than just making beer—it’s about the creativity, experimentation, and satisfaction of crafting something unique. With the right home brewing supply, a bit of patience, and some trial and error, you can create high-quality beer right from your kitchen. Whether you’re a beginner or looking to refine your skills, the key is to enjoy the process and keep learning. So, grab your supplies, start brewing, and raise a glass to your next great batch. Cheers!
FAQs
1. How long does home brewing take?
A simple beer can take 2-4 weeks, while lagers or complex brews can take months.
2. Do I need a lot of space to home brew?
Not really! A small kitchen or garage space works fine as long as you stay organized.
3. Is home brewing expensive?
The initial setup can cost around $100-$200, but once you have the gear, brewing is much cheaper than buying beer.
4. Can I reuse brewing bottles?
Absolutely! Just clean and sanitize them before each use.
5. What’s the best beer style for beginners?
A pale ale or wheat beer—they’re forgiving and don’t require strict temperature control.