Homesteading For Beginners: Food Preservation Techniques
We may earn a commission for purchases made using our links. Please see our disclosure to learn more.
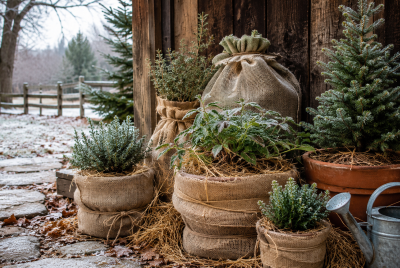
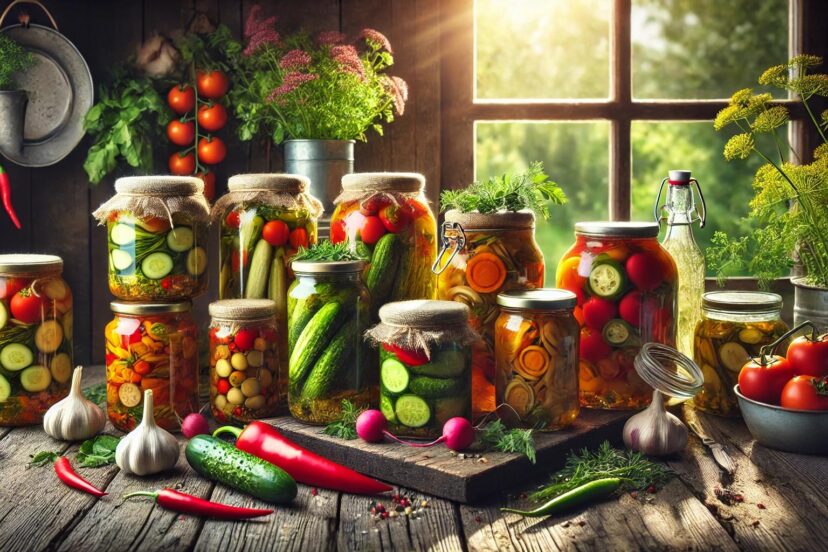
Would you like to learn how to preserve your hard-earned harvest? I’ve got you covered! If your garden produces more than you can eat, it can lead to food waste. After all, you can’t possibly eat it all at once, right? But you can extend their shelf life by preserving them. Here’s my guide on homesteading for beginners and techniques on how to preserve food.
Why Preserve Your Harvest?
Preserving food is one of the best tips on homesteading for beginners. Imagine opening a jar of ruby-red strawberry jam in the middle of a gray winter day. That sweetness is more than just a taste; it’s a memory, a piece of sunshine saved from the past. Preserving your harvest isn’t just practical; it’s poetic. It transforms fleeting moments of abundance into lasting treasures, reducing waste while giving you the joy of savoring your hard work.
Getting Started With Food Preservation
Diving into food preservation can feel like stepping into a new world, but it’s one filled with rewarding discoveries. Think of it as learning a timeless craft, one jar, one bag, or one batch at a time. Don’t rush—start small, enjoy the process, and let the journey unfold naturally.
Essential Tools for Food Preservation
To begin, you’ll need a few trusty companions in your kitchen. Think of these tools as your allies in preserving the season’s bounty:
- Mason jars that clink together like a cheerful symphony.
- A water bath canner for sealing goodness into glass.
- A dehydrator that whispers warmth into every slice.
- Freezer-safe containers, your chilly time capsules.
- Sharp knives, the sculptors of your produce.
- Labels, so your jars don’t become a game of “Guess That Pickle.”
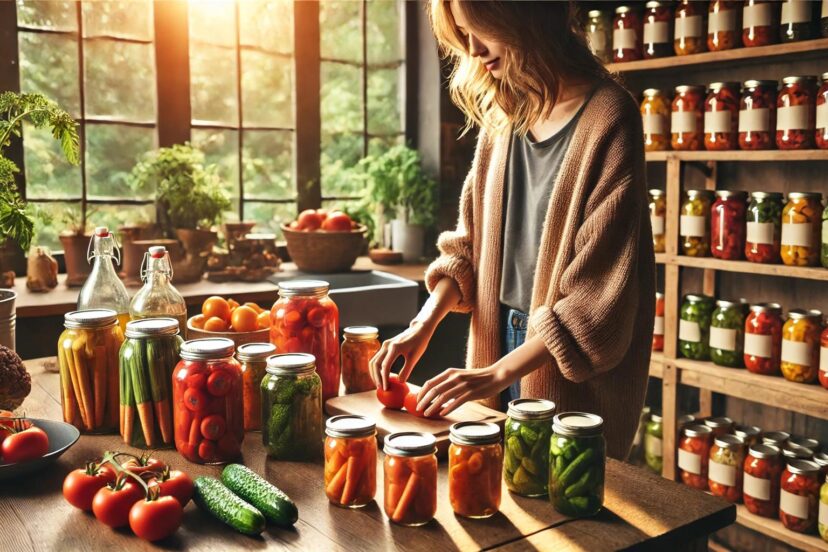
Canning: A Time-Tested Method
Canning is the grandparent of food preservation in homesteading for beginners—wise, reliable, and full of character. It’s about locking away flavors in glass jars, creating time capsules of taste. Here’s how to embrace this classic technique for homesteading for beginners:
- Sterilize your jars until they sparkle like morning dew.
- Prepare your food with care, whether it’s sweet peaches or tangy pickles.
- Fill the jars, leaving just enough breathing room at the top.
- Immerse them in a bubbling water bath, where science meets magic.
- Wait for that satisfying “ping” of a sealed lid—a tiny victory.
Freezing: Fast and Easy
Freezing is like hitting the pause button on freshness. It’s quick, straightforward, and ideal for beginners. Picture it: plump berries, green beans, and vibrant herbs waiting in your freezer, ready to bring a burst of flavor to any dish. Here’s how to start:
- Wash and prep your produce with care, like tucking a child in for bed.
- Blanch vegetables briefly—a hot bath followed by an icy plunge—to preserve their vibrancy.
- Spread them out on a tray to freeze individually, so they don’t cling together like siblings.
- Transfer to freezer bags or containers, labeled with love.
Dehydrating: Lightweight and Long-Lasting
Dehydrating is the quiet artisan of preservation methods, removing moisture and leaving behind concentrated flavors. It’s perfect for fruits, veggies, and herbs. Imagine crisp apple chips or fragrant oregano flakes. Here’s how to try it:
- Slice your food thinly, as if preparing it for a masterpiece.
- Arrange the slices neatly on dehydrator trays or oven racks.
- Dry at a gentle temperature, checking for the right texture—pliable, not brittle.
- Store in jars or bags, ready to star in your next culinary adventure.
Fermentation: Old-School Flavor
Fermentation is a bit like alchemy, transforming humble vegetables into tangy, probiotic-rich marvels. It’s an ancient tradition that connects us to our ancestors. Here’s how to join the ranks of fermenters:
- Chop or shred your chosen vegetables—cabbage, carrots, or cucumbers are great options.
- Sprinkle with salt, drawing out their natural juices.
- Pack tightly into a jar, ensuring they’re submerged in brine.
- Let time and microbes work their magic, creating complex, sour notes that sing.
Must-Have Tools and Products for Food Preservation
- Mason Jars with Lids
- Ideal for canning jams, pickles, and sauces. Look for durable, reusable jars with tight-sealing lids.
- Water Bath Canner
- A must-have for safely canning high-acid foods like fruits and tomatoes.
- Dehydrator
- Perfect for drying fruits, vegetables, and herbs while preserving their nutrients and flavors.
- Freezer-Safe Containers and Bags
- Ensure long-lasting freshness for frozen produce. Look for BPA-free and airtight options.
- Sharp Knives and Cutting Boards
- Essential for prepping fruits and vegetables with precision.
These tools will help streamline your food preservation efforts, ensuring the process is both efficient and enjoyable.
Pickling: Tangy and Delicious
Pickling is preservation with a zing. It’s about soaking vegetables in a tangy bath of vinegar and spices, turning them into bold companions for meals. Start here:
- Create a brine with vinegar, water, salt, and your favorite spices—think dill, garlic, or chili flakes.
- Pack your vegetables tightly into jars, ready to soak up flavor.
- Pour hot brine over them, filling every nook and cranny.
- Seal and refrigerate for quick pickles, or process in a canner for long-term storage.
Storing Dry Goods
Dry goods like grains, beans, and nuts are the unsung heroes of food storage. Keep them fresh by storing in airtight containers in a cool, dark spot. Think of it as creating a pantry full of potential—meals waiting to happen.
Creative Ways to Use Preserved Foods
Preserved foods aren’t just practical; they’re inspiration in a jar. Use homemade jam to glaze a roast, toss dried tomatoes into a salad, or blend frozen berries into a smoothie. These preserved treasures bring depth and flavor to every meal.
Common Challenges in Food Preservation
Preserving food isn’t without its quirks. Maybe your jam doesn’t set, or you’re worried about freezer burn. Here are some tips to ease your mind:
- Sealing issues: Double-check your canning process to ensure airtight seals.
- Freezer mishaps: Use proper containers and remove air to prevent frost.
- Moisture woes: Keep dried foods in tightly sealed jars to stay crisp.
Safety Tips for Beginners
Safety is your best friend in food preservation. Follow these golden rules to keep your creations safe and delicious:
- Always sterilize your tools and jars.
- Stick to tested recipes for canning to avoid spoilage.
- Check preserved foods regularly for signs of mold or odd smells.
- Trust your instincts—when in doubt, throw it out.
Innovative and Sustainable Food Preservation Techniques
Advancements in food preservation are paving the way for safer and more sustainable methods. A comprehensive review on Innovative and Sustainable Food Preservation Techniques highlights cutting-edge technologies like cold plasma, high-pressure processing (HPP), and ultraviolet (UV) radiation that effectively maintain food quality while reducing environmental impact. Similarly, the article on Modern Trends and Techniques for Food Preservation explores both traditional methods like fermentation and canning, alongside modern innovations such as freezing and pasteurization, emphasizing their importance in global food security. These studies underline the critical role of blending tradition with technology to enhance food safety and sustainability.
Summary
Preserving your harvest is more than a chore; it’s a celebration of your connection to the earth. Each jar, bag, or bundle holds a story—of sunlit afternoons in the garden, of flavors carefully crafted, of seasons captured and savored. It’s a gift to yourself and those you share it with, a way of making abundance last. For more homesteading for beginners tips, check out this article about home brew supplies you need to make a flavorful beer at home.
FAQs
- What is the easiest method for beginners?
- Freezing, hands down. It’s simple, quick, and requires little equipment.
- How long do preserved foods last?
- Canned goods last up to a year, frozen foods several months, and dried foods longer if stored properly.
- Do I need special equipment for canning?
- A water bath canner and mason jars are the basics; they’re worth the investment.
- Can I preserve herbs?
- Absolutely! Dry them, freeze them, or even make herb-infused oils.
- Is food preservation safe?
- Yes, when done correctly. Follow proper guidelines, and you’ll enjoy your harvest safely for months to come.